Lessons Learned: What I Wish I’d Known Before My First Renovation
After five years of hands-on projects and learning the hard way, I’ve picked up patterns that would have saved me weeks of work and thousands in costly do-overs. Here’s what renovation taught me, whether you’re painting a room or rebuilding a kitchen.
The Reference Table — Common Mistakes and How to Avoid Them
These are the patterns I see in almost every project that doesn’t go as planned. Understanding them upfront saves time and money.
| The Mistake | Why It Happens | How to Prevent It |
|---|---|---|
| Starting without a real plan | Excitement and impatience lead to skipping the scope-clarity step | Spend a full day documenting what’s changing and what’s staying the same |
| Underestimating prep work | The visible finish looks like 20% of the effort; prep is actually 80% | Budget 40–50% of your time for surface prep, sanding, and priming |
| Choosing wrong materials for the space | Selecting by price or looks instead of how the room functions | Match humidity, foot traffic, and light exposure to the product specs |
| Waiting too long to call a professional | Hoping to fix structural or foundation issues yourself | Get a free estimate from a pro before the problem costs twice as much |
| Skipping the protection step | Wanting to jump straight to the fun part of the project | Dust barriers, floor protection, and masking tape prevent invisible costs |
The Key Figures — What You Actually Need
80%
Prep vs. finish — the real work is getting the surface ready, not applying color
3:1
Time ratio — the actual time your first major project takes versus the estimate
40%
Budget allocation — dedicate this much to tools and materials you’ll use on every project
Tools That Changed Everything
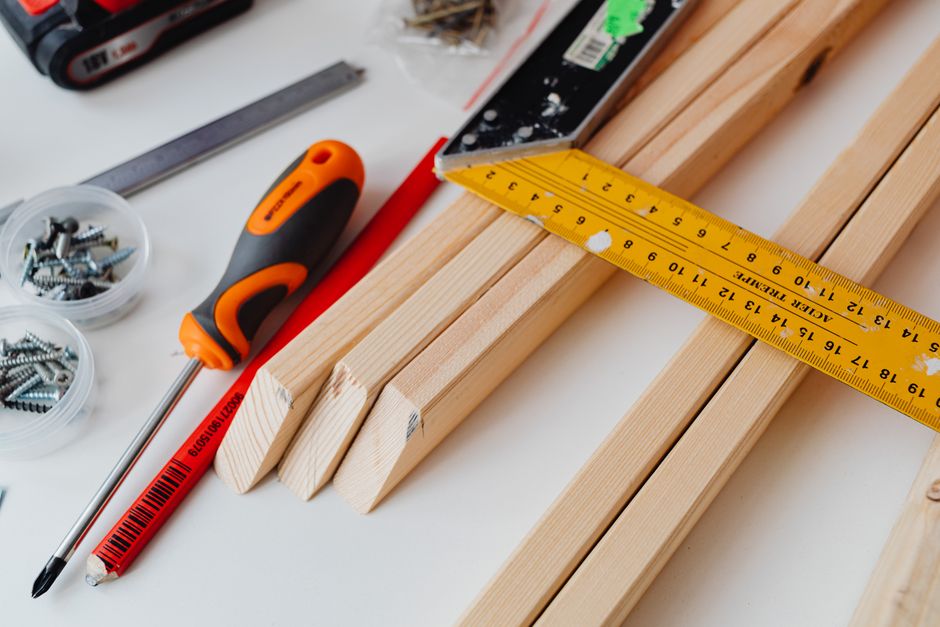
The single biggest mistake I made early on was thinking I could manage with a basic toolkit. A decent orbital sander, a dust containment system, and quality brushes don’t cost much upfront, but they save you weeks of frustration and often produce noticeably better results. When you’re doing this for the first time, the right tools aren’t optional extras—they’re the foundation of whether the project actually works.
Before You Start Your Next Project
The best renovation is the one you plan thoroughly before you buy a single board or open a paint can. Spend time walking through the space, taking photos from multiple angles, measuring twice, and understanding what would actually change if you hired a professional to handle it. If you’re planning to work with contractors, these lessons will help you ask sharper questions, catch problems early, and push back on suggestions that don’t make sense for your space.
Common Sticking Points
When should I actually call in a professional?
If you’re more than halfway through and already over budget by 20%, stop and get a professional estimate on the remaining work. Sometimes a day of focused labor from someone experienced saves you two weeks of stress and often produces a better result than pushing through frustration.
How do I know if a surface is truly ready for paint or finish?
The tactile test beats any other method: run your bare hand across it. If you feel dust, rough patches, or inconsistency, it’s not ready. A properly prepped surface feels smooth like glass before any paint or stain touches it.
What’s the one tool that actually changed my workflow?
A quality orbital sander paired with a vacuum system. It’s the most-used tool in my kit and makes every project faster, cleaner, and produces noticeably professional-looking results. The dust containment alone prevents hidden costs from cleanup.
Should I hire someone, or can I really do this myself?
Ask yourself three questions: Do I have the time? Do I have the right tools? Do I have the patience to redo this if it goes wrong? If the answer is no to any of those, hire a professional. The money saved by DIY isn’t worth months of frustration or results you’re not satisfied with.