The Work
This page is a tour through projects we’ve tackled over the last few years — not a portfolio in the glossy sense, but a real look at what we’ve built, what we learned doing it, and what we’d do differently next time. Each project started because we wanted something better for our home, and we documented the process because we thought others might find it useful to see what the actual work looks like, from start to finish.
The goal here isn’t to make anything look easy — it’s to show that this stuff is doable, mistakes and all, and to help you understand what to look for when you’re evaluating whether a project is right for you.
How to Use This
- Start with what matters to your project. If you’re planning a kitchen renovation, jump to the kitchen sections. If you’re prepping walls for painting, look for the painting entries. Each project is tagged with what kind of work it involved.
- Read the “before” and “what we were thinking” part first. This tells you what we were solving for and why we made the choices we made — that context is usually more useful than just the final picture.
- Look at the process photos and notes. The real value is in seeing the mistakes, the false starts, and the “we had to redo this part” moments. That’s what actually helps you plan your own project.
- Check the materials list and timeline. Every project page includes what we used, what we’d use again, what we wouldn’t, and roughly how long it took. Your situation will be different, but it gives you a baseline for planning.
- Ask yourself: “Would we do this the same way again?” Every project summary answers that question honestly. If the answer is “no,” we say why.
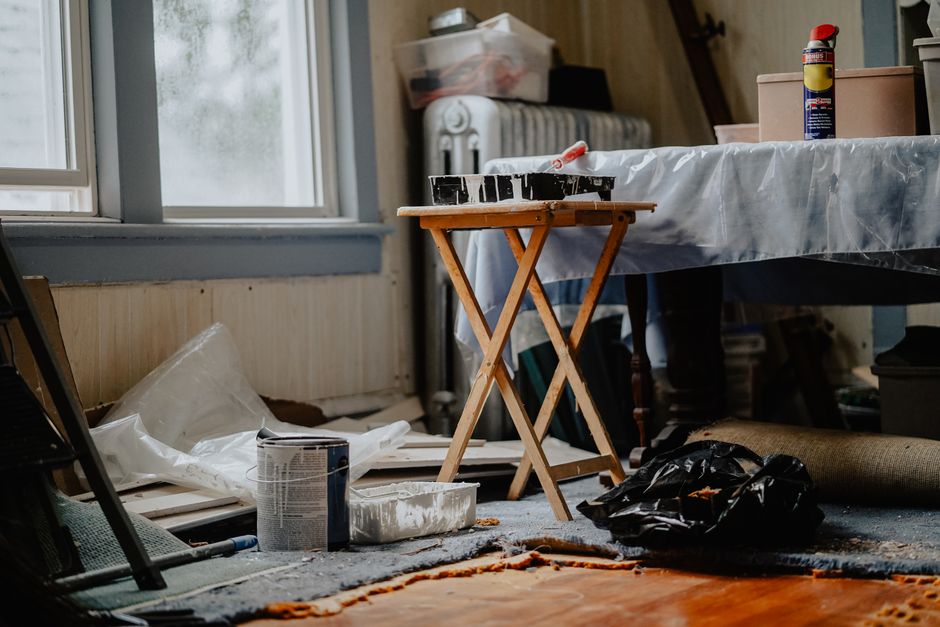
What You’ll Find Here
We’ve organized our work by project type. Each entry includes what we were trying to solve, the approach we took, what we’d change if we did it again, and honest notes about cost and time. We’ve also tagged each project with the skills it required and the tools we found essential — if you’re thinking about taking on something similar, that detail matters.
The goal is never to make you think “that looks easy” — it’s to give you a realistic sense of what the work actually involves, so you can decide whether this is a weekend project or something you want professional help with. Sometimes the answer to “should I do this myself?” is “yes, and here’s exactly how.” Other times it’s “this is a job for someone who does it every day,” and that’s equally useful to know.